Welcome to my Blog

I'm a professional award winning Portrait artist from NSW Australia.

Not just a likeness- portraits with Life!
I bring your photos to life in paintings that will touch your heart!

A photo freezes a moment while a painting melts hearts.

Capture a moment in their life and
keep it alive in an Heirloom Portrait !

"Your portraits capture more life than a photo ever could!"
Vanessa.


Satisfaction Guarantee .

Have me create a special portrait just for you!.
Supply the photos and then plan the great unveiling!


I have original animal and landscape artworks available for sale on my website.

Learn more at my website-


https://www.suelinton.com.au/wordpress/


Friday, August 21, 2015

Hugh - This weeks 2.30hr practise portrait from a model


Hugh
25 x 30cms 
Oil on canvas
I haven't been going regularly and felt a bit out of practise but I was really happy with Hugh's portrait.I feel I have captured something of his nature.
I also accidently learnt a new technique.I always struggle to find colours that bring the darker areas of the portrait to life but still retain the form/ likeness. The shadows in his portrait are thin and luminous. I'd like the portrait to be a bit more colourful and could alter a few minor things but for a quick study I think it worked well!
Below - partially done..


I paint on fairly smooth canvas that I buy in a roll and cut to suit.I like this as I don't have much space so I can store the finished paintings compactly in layers in a draw.

 The start! Most artists wouldn't show you this stage as it's pretty bad! A painting constantly evolves and I am continually changing things until I am happy with the likeness and overall affect.
 
 I've added some in between tones / shades to build up his face. This is a difficult angle both for the artist and model. You need to get the profile shape just right and it's easy for the model to move slightly so in one session you may see a lot of his far eye and in the next none. If you just blindly copy whats in front of you end up with a distorted portrait. Luckily Hugh was very good and kept the same angle although I had already taken a photo to help me get the correct angle in case he didn't.


 I realised he needed more forehead so the image grew as I extended his forehead onto the tape that held the canvas onto the paper..I always seem to do my best works on the worst canvas's! grr 

Below-  Here I've started getting some of the darker areas in and refined his profile as I started the background.
 After a break I decided his general head shape was wrong and his nose and far eye needed adjusting. This is probably about an hour into the portrait.


Below- Finally I'm happy enough with the blue acrylic underpainted likeness to start going over the top with Oil.
 

 I love painting with Oil as I find it  has more guts and the darks stand out so much better than the acrylic.
 Technically you are supposed to work from dark to light with Oil but I wanted to do the fun bits first ! I did all the highlights ( lightest bits). For once we had flattering lighting.
 
I usually have trouble deciding on a colour for the shadow side of faces. When I paint for myself I like to use as much colour as possible.Today I accidentely came across a technique which really worked- I only put a thin layer over the blue and it looks more transparent. Although not as colourful as I'd like it's a useful technique to add to my arsenal.

 Closeup of the shadowed cheek area


Almost there! One of the other artist said I should leave the blue peaking through and although I was tempted I needed to subtly tone areas down. The white horizontal line at the top is where I've painted over the tape holding the canvas on.
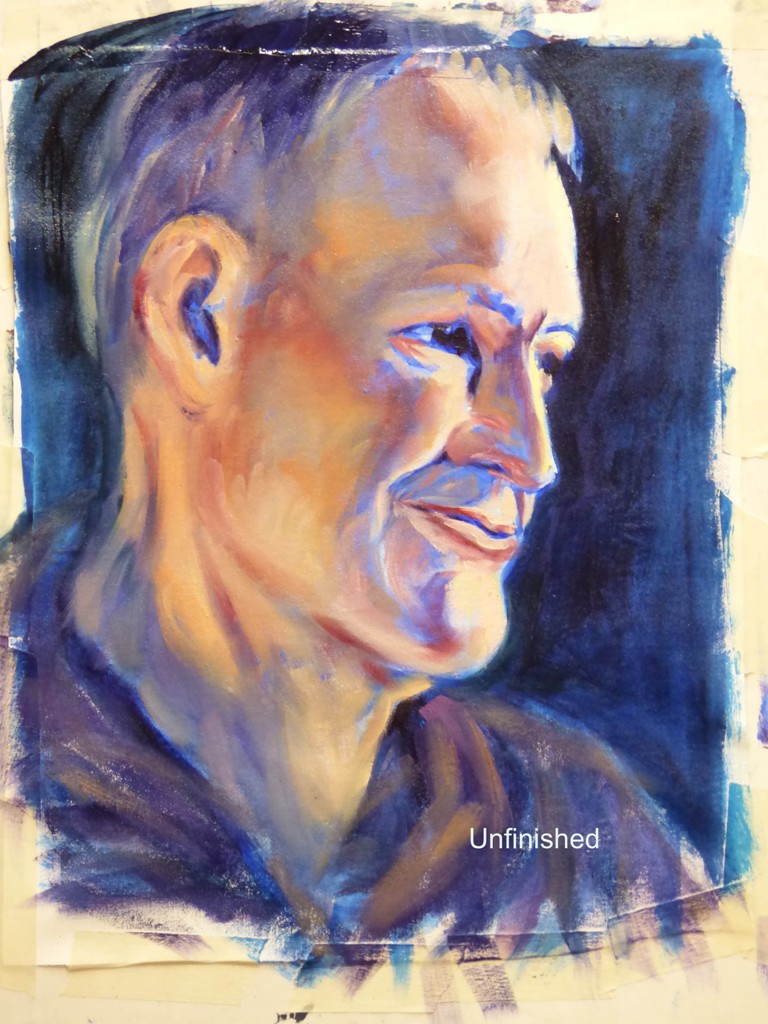
Here he is again 'finished'. I've subtly refined his lips to capture a fleeting expression , adjusted his chin , added light bits on his hair and generally bought it all together.


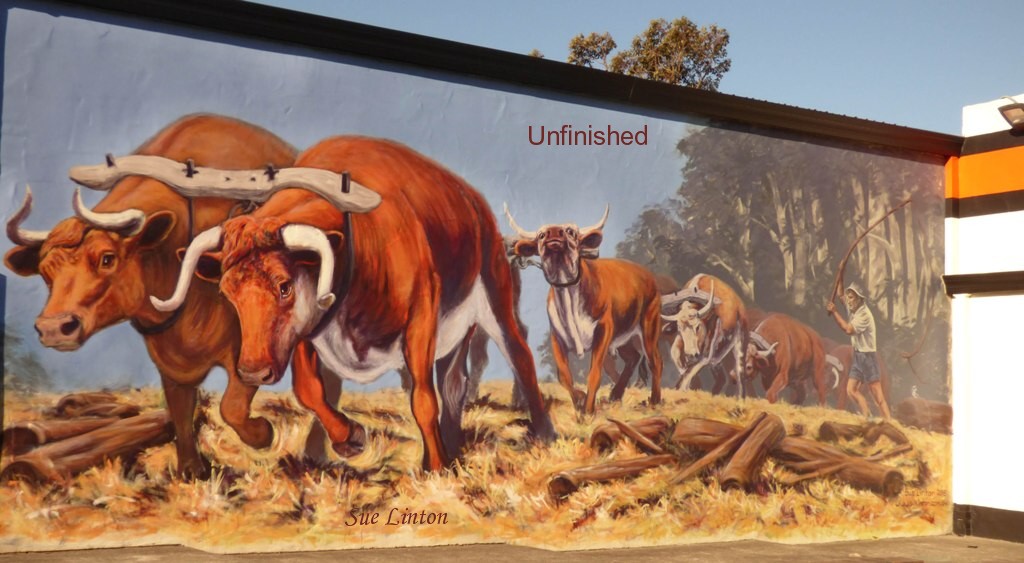
The 'Bullock mural' in the Cessnock Advertiser 13th August 2015


Thursday, July 30, 2015

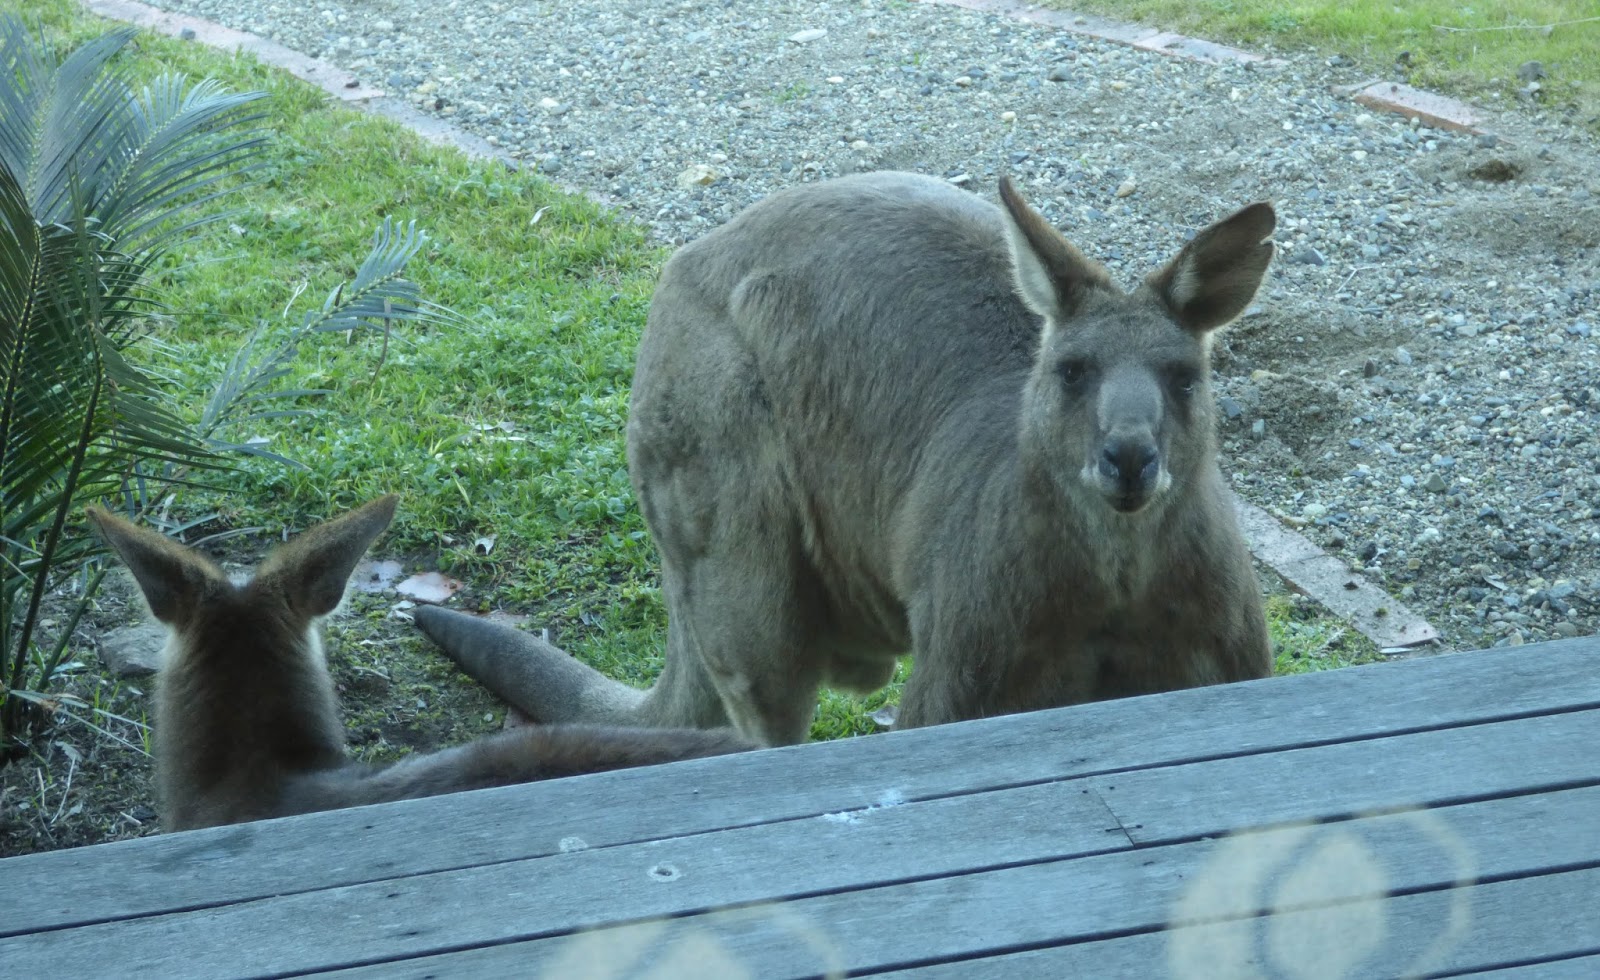
The boy roos are chasing the girls so spring must be just around the corner!

Must be coming towards Spring. I was inside drawing up the Pug portrait and there was a hell of a ruckus.. The pack of male roos had a female cowering under the front verandah trying to get away.
The biggest male was under there with her grunting and fighting off others.The whole verandah was shaking!I hope the air conditioning unit survived.
I went out and yelled at him and threw my hands at him from the safety of the verandah and he hopped off a bit but soon came back. He was pretty single minded so I decided to play it safe and leave it to them.. Luckily it's died down now.


 Above - the pretty cause of all the ruckus


Monday, July 20, 2015

Day 12 - the final day on the mural- redoing the main bullocks head

Above -  The finished mural. I decided the main bullock looked a bit boring from across the road ( it looked ok close up) so I decided to add a few white markings.
I also narrowed it's face. After many hours of searching I'd  found a suitable photo of a
 bullock 's head from a similar angle to help. I highlighted his nose , ears and put a few white areas to help balance his face.
Below - how it was.


 I think he looks quite wise now..lol's.


 More pics of the finished mural. I could have fiddled with a few more things  but it has good impact so time to call it quits! It should look great for another 10 years..


Below- The earlier head. I quite liked it but it lacked impact.I want the mural to look great closeup ( the colours really stand out from the footpath) but also be eye catching as people drive past.


Below - his new markings


Thursday, July 16, 2015

Day 11- Changing the main bullocks face- lightening the grass and logs- almost there


 Well it's looking pretty finished but I still feel the grass needs a bit more impact and the logs need some more colour and lighter shades on them. That was my aim for the day but the first thing I decided was that I didn't like the main bullocks head. Above is how his face was first thing ( RHS front bullock).


 The original reference photo is very dark and you can't make out any detail.

 As a result I'd done my own version and changed the angle of his pose a bit as well. I decided I'd change him to give him more form. 2hrs later I still wasn't very happy but he looked semi decent..grr. On my usual smaller  portraits a change like that might take 10-20 mins if I get it right- much longer on this bigger version.


 Above - this is one stage I went through and I wasn't happy with him at the time and kept going..I may have to go and fine tune him again. I'll have to get some decent photos of a bullock/cow head from the correct angle to make it much easier than guessing.
Still if I can stop obsessing over little details it looks pretty good!
 Here it is on the side of the building to show you the size- 3.3m x 9m


Below -  The sun is just starting to come around and hit parts of it.After this photo was taken i did more changes to his face and lightened the grass and logs.


 Below - In this detail shot you can see the lighter flicks among the grass to help bring it to life. The logs have more orange and some white highlights . I'm happy with this area - it is finished!
 

This is where I got to today. I suppose it could be finished but I want to suss out options for subtly altering his face. Once I have a plan it shouldn't take long to make the changes and then it will be finished! One option is to extend the white areas  to cover more of his face..

Day 10 - Using a trestle to reach and repaint the sky and background trees


Today was all about bringing it all together. The sky had lost it's warm mauve tones over the years and was too green blue so I repainted it with the original colour but a bit lighter to make the bullocks stand out more.I started with a ladder but couldn't reach the top so changed to the trestles and plank. I'm not real keen on heights and the ground wasn't flat so they were a bit wobbly at times. I was glad to get back onto the ground!
I was going to take a photo looking down from the trestle but I didn't want to clamber up with the camera.
 You can see the mauve blue from the LHS. I'm hanging onto the guttering more from a confidence thing than anything else as it wouldn't take my weight!

 Here I've decided the first sky colour I started was too dark and I'm going back over it in the same colour but a lighter shade.
About this stage I decided a roller would be a lot easier and went up the road to get one.

 The above photos are taken when the mural is in the shade of a morning - the next one is when the sun hits it of an afternoon- It looks much better!
 Moving along to finish the sky.


It's now overcast - look at the difference the lighting makes to the effect. I'm now tackling the tree belt. I'm going to grey/blue it off so it sits back in place and doesn't look like it is coming forward. Below - tree belt finished. This is where I got up to on the day.